Monday, 23 March 2015

Chocolate Playdough

I love playdough. It promotes creativity, discussions, role play and fine motor skills, just to name a few. I always try to match my playdough to what every topic we are talking about in class. I have made everything from Space to Frozen themed playdough and the kids just love it.
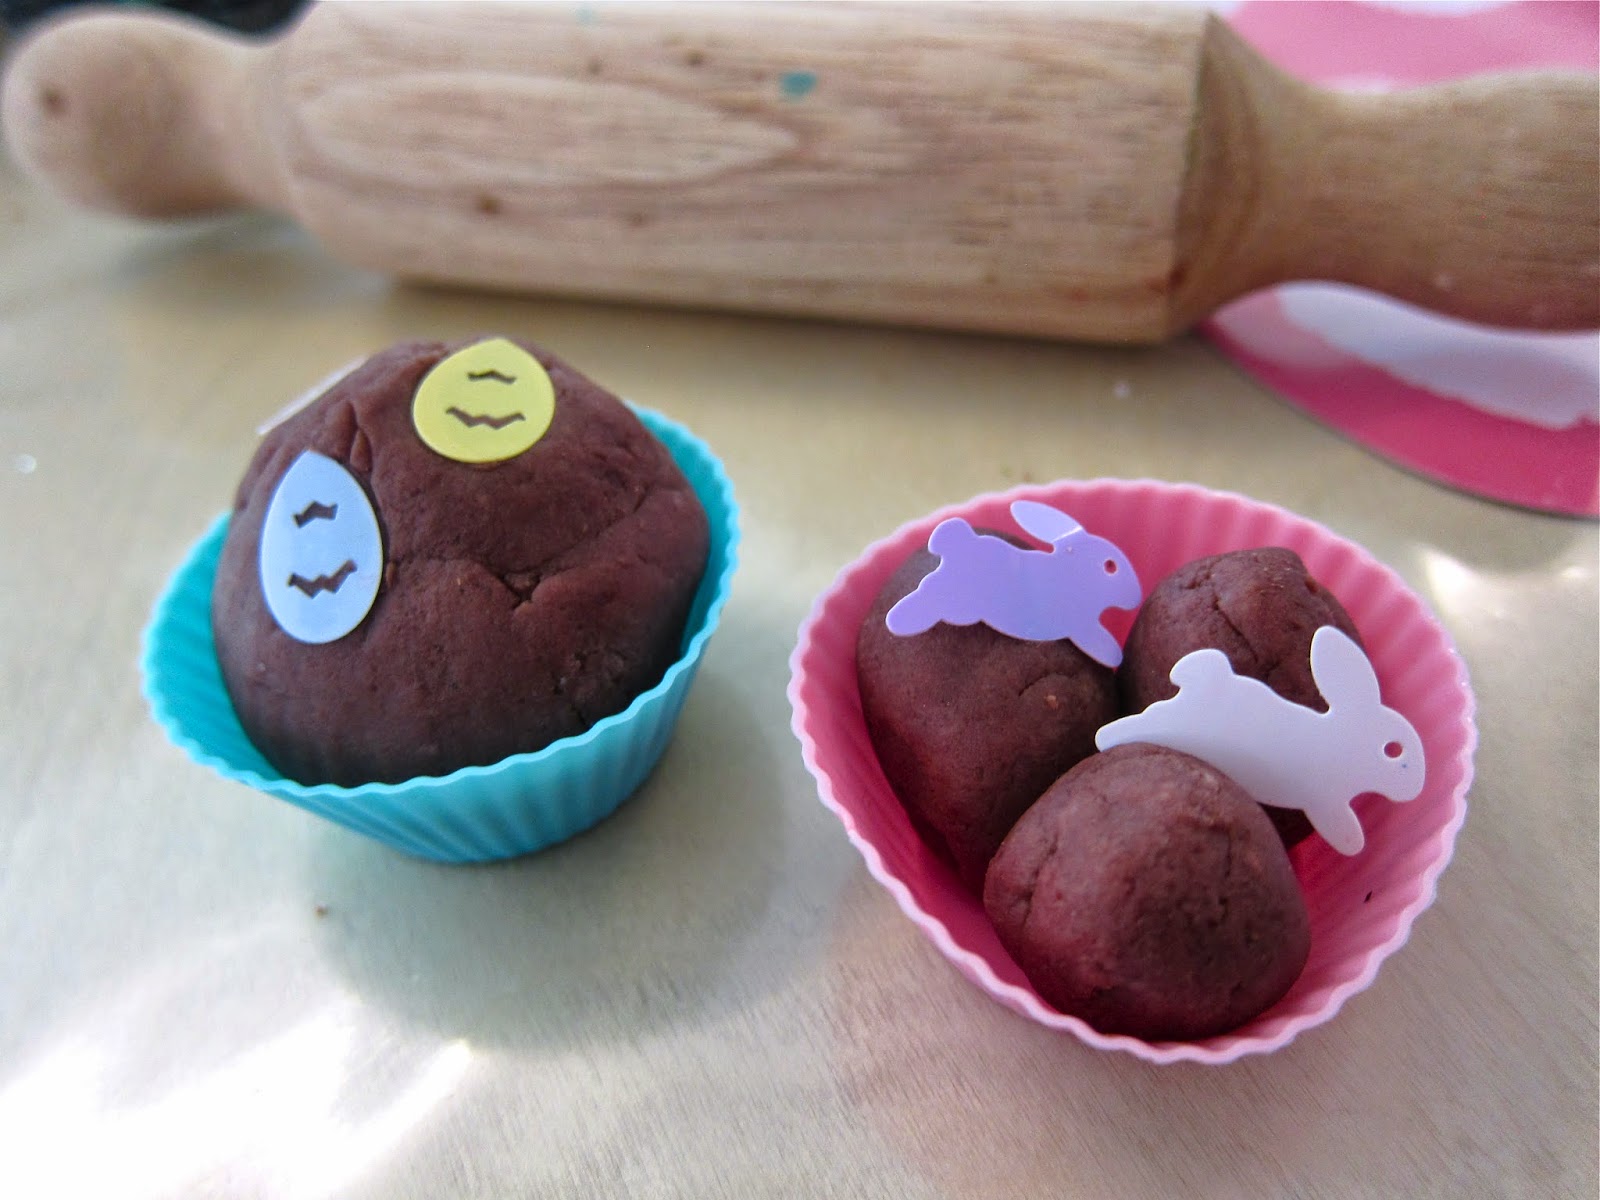
Today I will share with you the playdough I have made for our Easter unit we working on in the lead up to the holiday - Yummy Chocolate Playdough!

Love Miss Walker

This amazing recipe smells good enough to eat and we had to have very detailed discussions during our morning mat session that playdough is not edible. Here is the easy no-cook recipe :

2 cups plain flour 
1 cup salt
1/2 cup cocoa or cacao powder
2 tbsps vegetable oil
2 tbsps cream of tartar
2 cups of boiling water 

Simply mix the dry ingredients together, add the oil, boiling water and mix until thoroughly combined. Let the mixture stand until cool to ensure the boiling water 'cooks' the dough. Don't be scared if at the start it looks like a disaster - good things come to those who wait! Once it has cooled, knead it on a clean surface until smooth. Store in a zip-lock bag or airtight container. It will last for weeks, however I like to change my playdough fortnightly as many, many little fingers touch it day in and day out. If making it for home use, it should last you a month or so. 

The key to the success of this recipe is to make sure that the water it absolutely boiling. I have used a school kettle in the past and the few times I did, the playdough did not work. I couldn't figure out why for so long, then realised that the water temperature was the cause! If you have a good quality kettle, this shouldn't be a problem. My school kettle cost about $10 from Coles...go figure!

Play dough
This is the consistency you are after. Looks good enough to eat!!

I will finish this post with a look at our Easter-themed classroom. I love Easter decorations - the colours make me so happy! I managed to find most things at Kmart this year, their decorations and stationary choices are improving each year. 

Easter Decorations
Happy Easter Bunting! 
Easter
A closer look at the cuteness
Easter

Our playdough table! So happy and colourful 
Easter decals are perfect for creating Easter Treats.
 I use silicone cupcake moulds quite other for playdough play.
Easy to wash & reuse and impossible for curious little fingers to break
Supplies 
These signs were a part of an 'Easter Hunt' pack from Kmart. 


Decorating Easter Trees. I find these hanging eggs from dollar and discount stores each year, the kids love it. 


Happy Easter everyone!!


<a href="http://www.bloglovin.com/blog/13878931/?claim=vbugvj2z9n5">Follow my blog with Bloglovin</a>


Sunday, 22 March 2015

Organisation with Erin Condren


I have a slight 'Type A' personality. Meaning I am organised, and I like things to be perfect. Some would call it OCD. My Husband likes to call it 'Highly Organised Individual' syndrome. Which ever way you want to look at it, I LOVE organising. I could make a career out of it. I spend countless hours reading Organisation blogs like The Sunny Side Up by the gorgeous Erin, Iheart Organizing by Jen & simply organized by Samantha - and that is just to name a few.

I have tried and tested countless Day Planner/Organisers and Erin Condren has by far been my favourite. This is my first year using a Life Planner, and I love it so much I also ordered the Teacher Planner to keep track of my full days at school.

The hardest part of having an Erin Condren is choosing a cover...seriously, there are so many designs, I spent so long going back and forth. This was the design I ended up choosing:

Confetti Cover
On a Sunday Afternoon I like to sit down (quite often with a glass of wine) to plan out my week. Of course things do pop up after Sunday, but if I have a clear plan of how my week is looking come Monday Morning, my head feels clear & I am able to add extra commitments with ease & confidnece that I wont have to cancel because 'oh my gosh! I forgot I had something on!' (that is the WORST). 
I use washi tape (from a variety of locations!) to add colour and block of days when we might be on Vacation. I also use various stickers and my favourite Staedtler Triplus 'Rainbow Pens'. Oh how I love them!

Week at a glance
Typical planning tools

Tokyo Disney Resort : Japan Travel Diary, Part Three


"I only hope we don't lose sight of one thing - that it was all started by a mouse" - Walt Disney

Disney. This to me is a symbol of happiness, joy & magic. I don't love it because it 'takes me back to my childhood' or makes me feel like a kid again. It just makes me happy. Plain and simple. Watching a Disney Film or entering a Disney Park is like swallowing a happy pill. The smile doesn't leave my face & nothing is wrong with the world for those hours spent within Walt's magical creations.
My Bucket list basically consists of visiting every Disney Park in the World (standing at 6/11 currently, hubby at 2/11...guess I'll just have to revisit a few. Shame!), seeing an Orca in the wild and that is about it. Adventurous, I know. This Japan Travel Diary instalment will cover the first initial stages of getting to Tokyo Disney Resort, Ticketing, Hotels and the basics. I will go into the Parks in depth in posts to come.

Alice in Wonderland
Hubby enjoying the Mad Hatter's Tea Party
We spent 5 days at Tokyo Disney Resort, which consists of 2 parks (Disneyland & DisneySea), 3 Disney Hotels, a Shopping area 'Ikspiari ', as well as 6 Official Disney Hotels. The Tokyo Disney Resort website is in Japanese, but translates fairly well to English in most sections.

Getting there
Hubby & I travelled from Osaka to TDR on the Shinkasen (Bullet Train). As I assume most people will arrive at Tokyo (Narita) Airpot, I won't go into this too much, except to say that it was a very easy & enjoyable experience. Very little English is spoken in Japan, with many not understanding a single word, so be prepared to become an expert in charades or learn some of the language yourself. We purchased tickets for the Shinkasen at the Shin-Osaka station and found our platform with ease. All train stations and airports have some English signage (numbers and text). If given the chance, a Shinkasen trip is definitely worth experiencing at least once in your life. It is super smooth & much more comfortable than a plane and regular trains.

Typical station signage. I love that the TDR poster is in the foreground. That wasn't even intentional.
We took the Shinkasen to Tokyo Station, which is the heart of the Tokyo train lines. It is big, fast, and if you don't know what to look for, confusing. It really pays to do your research prior to arriving at this station just in case you are unable to locate someone that speaks English. It was a fair hike to the next platform we needed to be at, and I highly suggest investing in good quality baggage with a spinning wheel system, as there are A LOT of escalators/stairs/lifts where you need to think quick and enter & exit swiftly.

JR Keiyo Line is the one you need to look for if traveling to TDR via train. It is red (all lines are coded with a different colour and if you know what colour you need to follow, the whole process is very easy), and is located 4 stories below ground. Tokyo Disney Resort's Station is named Maihama, and is about 15 minutes out of central Tokyo. Once you have spotted that on the overhead screens you know you are on the home stretch!

Gateway to where dreams come true

Tuesday, 17 March 2015

Osaka & Universal Studios : Japan Travel Diary Part Two


My Husband & I love a theme park. The rides, the atmosphere and the contagious feeling of absolute happiness is something I haven't found anywhere else. I have visited a few in my time (it's tricky for us Aussies as we have only a few small ones here!) and like to incorporate them into overseas travels when possible.

Universal Studios Japan
Hogwarts Castle at USJ

Arriving in Osaka
We flew Cathay Pacific (highly recommend) via Hong Kong from Perth & it was a hassle free & enjoyable (well, as enjoyable as a long haul flight can be), as most flights to a holiday destination tend to be. We arrived at Kansai Airport, Osaka around 9pm and reached our hotel (Hilton Osaka) by 11pm. We were up at 3am (there is only 1 hour time difference between Perth and Japan) so suffice to say we were ready for our bed!

Super tired faces at 7am

Kansai Airport is about an hour from Osaka City Centre, and I would recommend taking a 'Limo Bus'. They are easy and take you to many different hotel destinations around the city. They run regularly (every 20 minutes or so) and cost 1550 Yen per person. The stops are easily identifiable directly outside the airport, and if you research which line you need to take, all you need to do is look for the correct number.  A taxi is quite expensive, and although the rail system in Japan is amazing, you have to transfer, and doing that with luggage after a long day of travelling is not always the best idea.

Monday, 16 March 2015

Japan Travel Diary : Part One


In October last year my Husband & I (then Boyfriend!) took a trip to Japan. The first thing that people asked me was 'Are you skiing?!' 'No, we are going to Disney' I would say and look forward to their confused looks in response. Truth was, we did go to Disney, but we also travelled to Osaka & Tokyo City. The Disney portion of the trip was what I was excited by the most.

Love Miss Walker
**sigh!**

Related Posts Plugin for WordPress, Blogger...